
Children rarely get everything they want. As adults, however, we often find we’ve amassed a considerable amount of things we don’t really need. It’s easy to run out of places to put things and things begin to get cluttered. Luckily for you, The Jejune Bulletin is here to help you get organized with a simple DIY solution. Today I’ll be showing you how to easy it can be to make your own shelving.
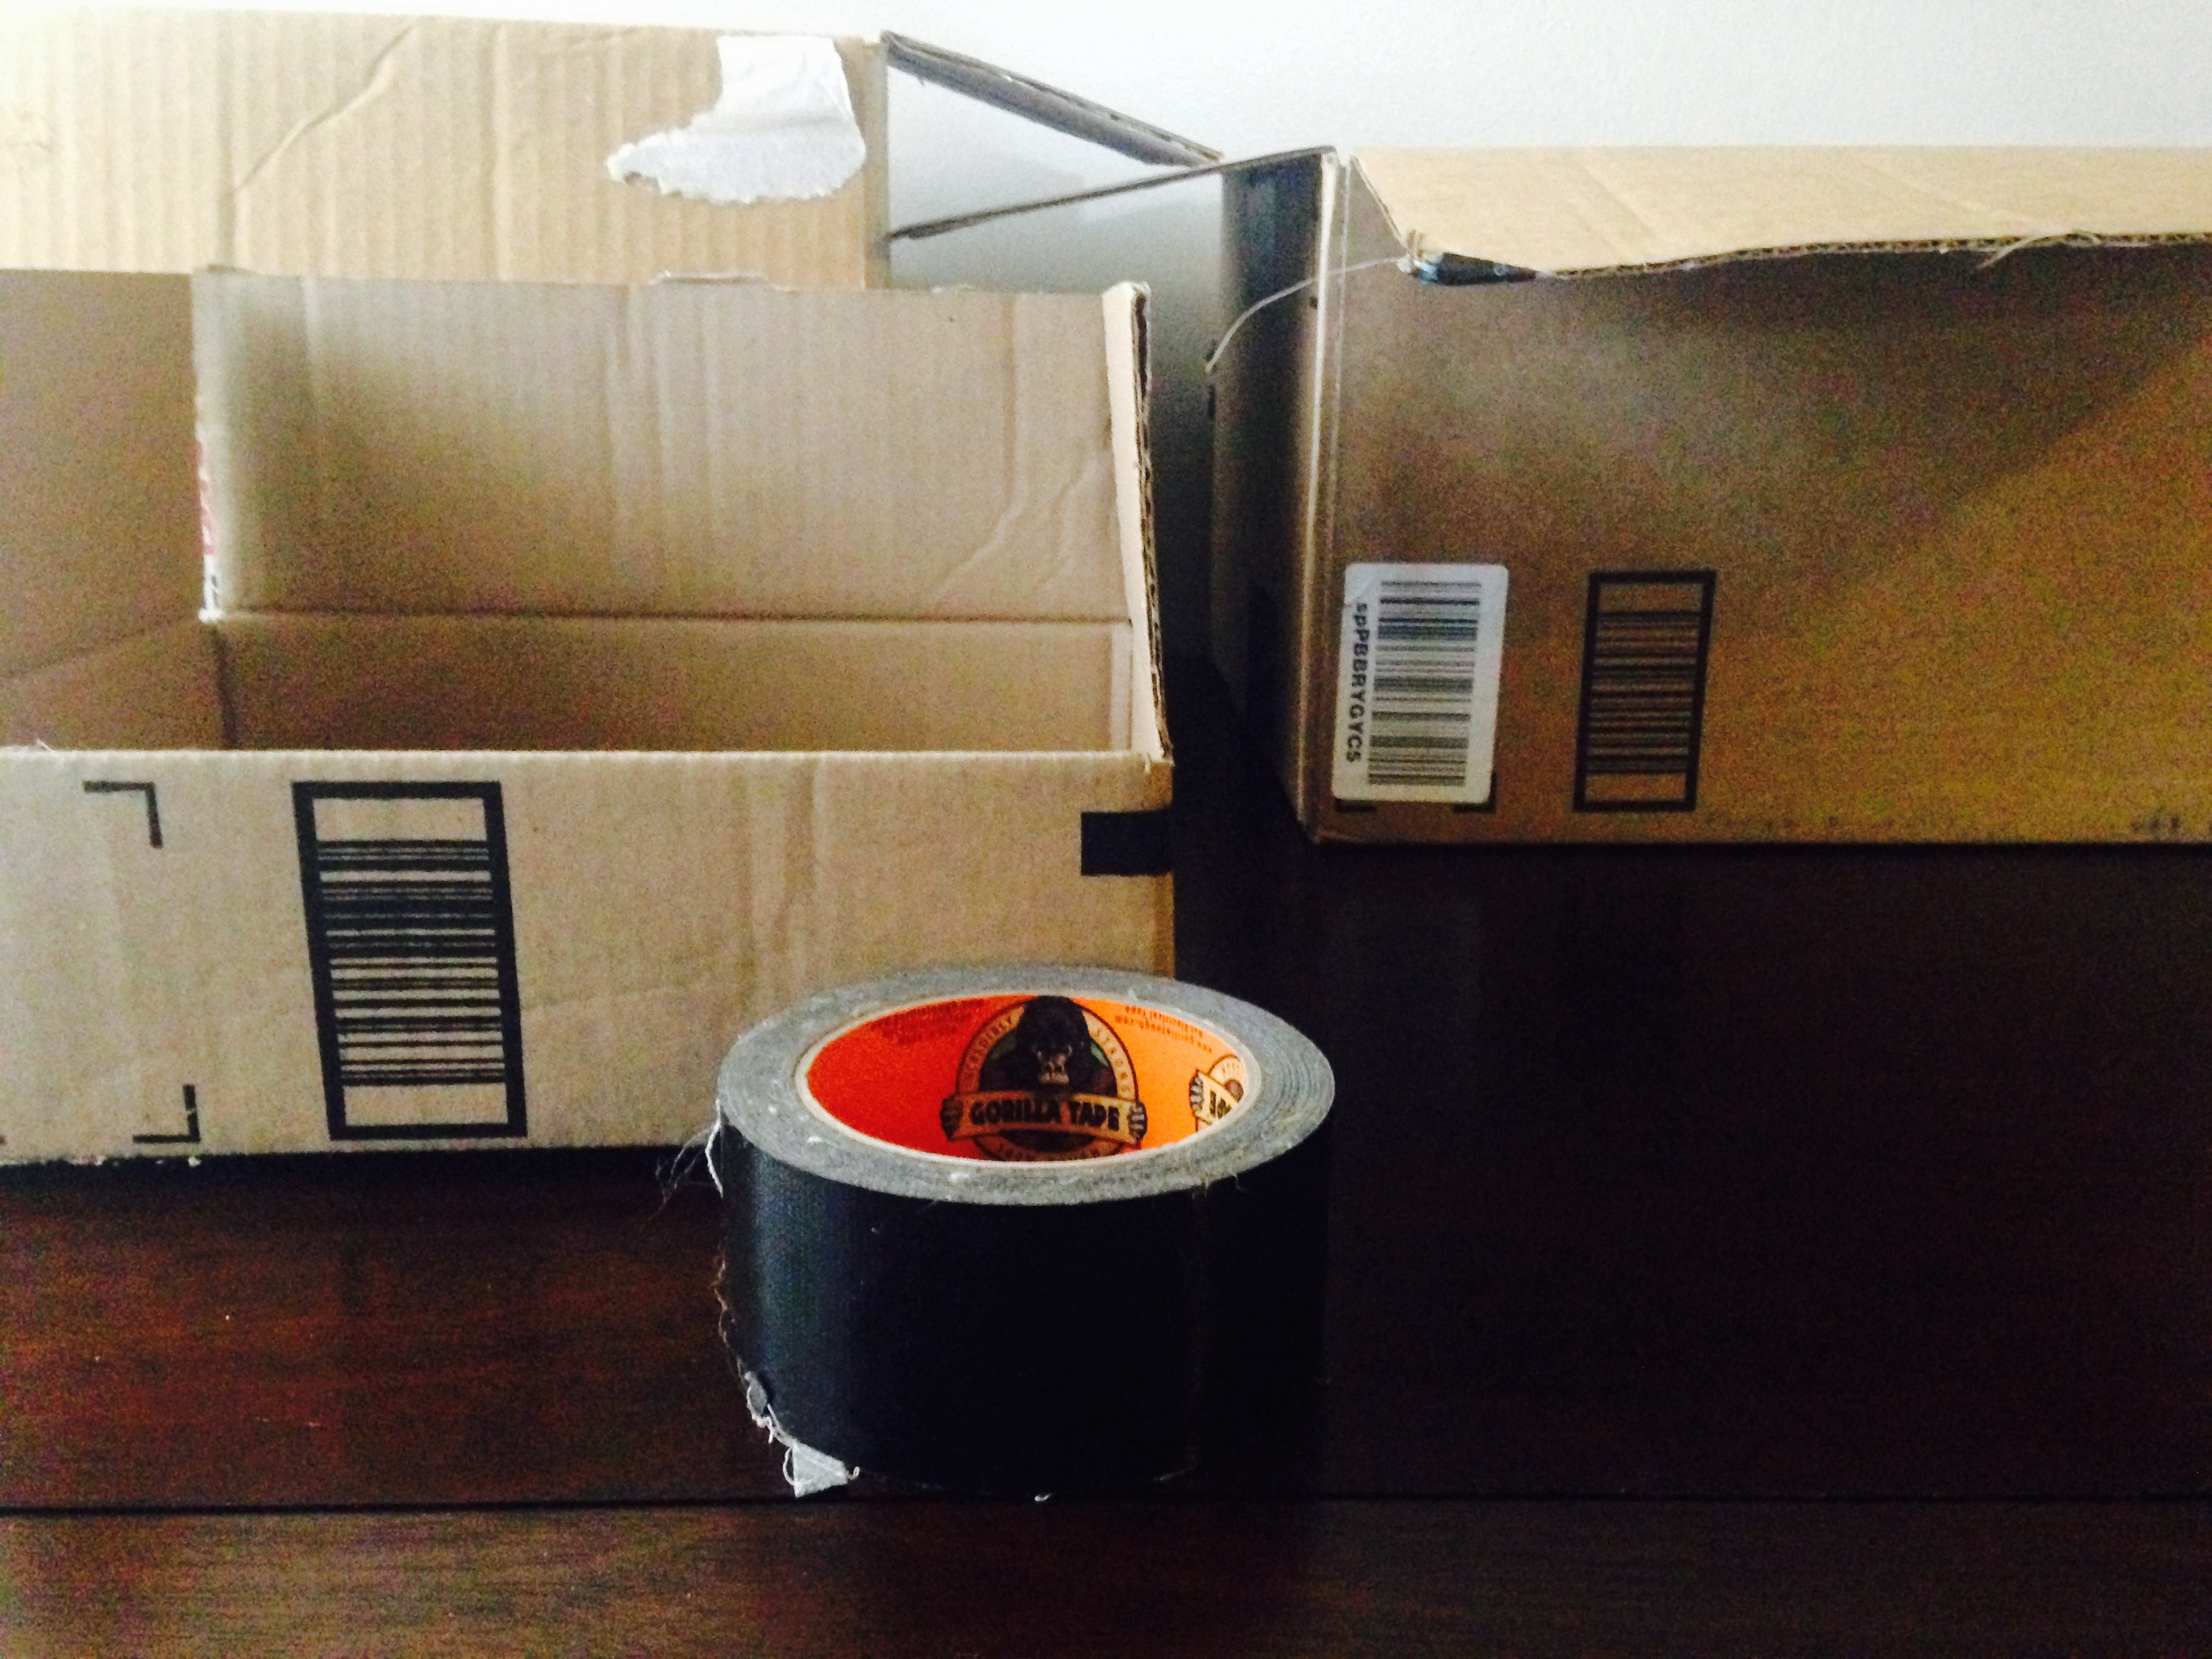
Needed Items:
- 2 or more cardboard boxes
- Preferably Gorilla Tape
- Scissors or box knife (optional)
- Paint, markers, crayons, etc. (optional)

boxes stacked and taped
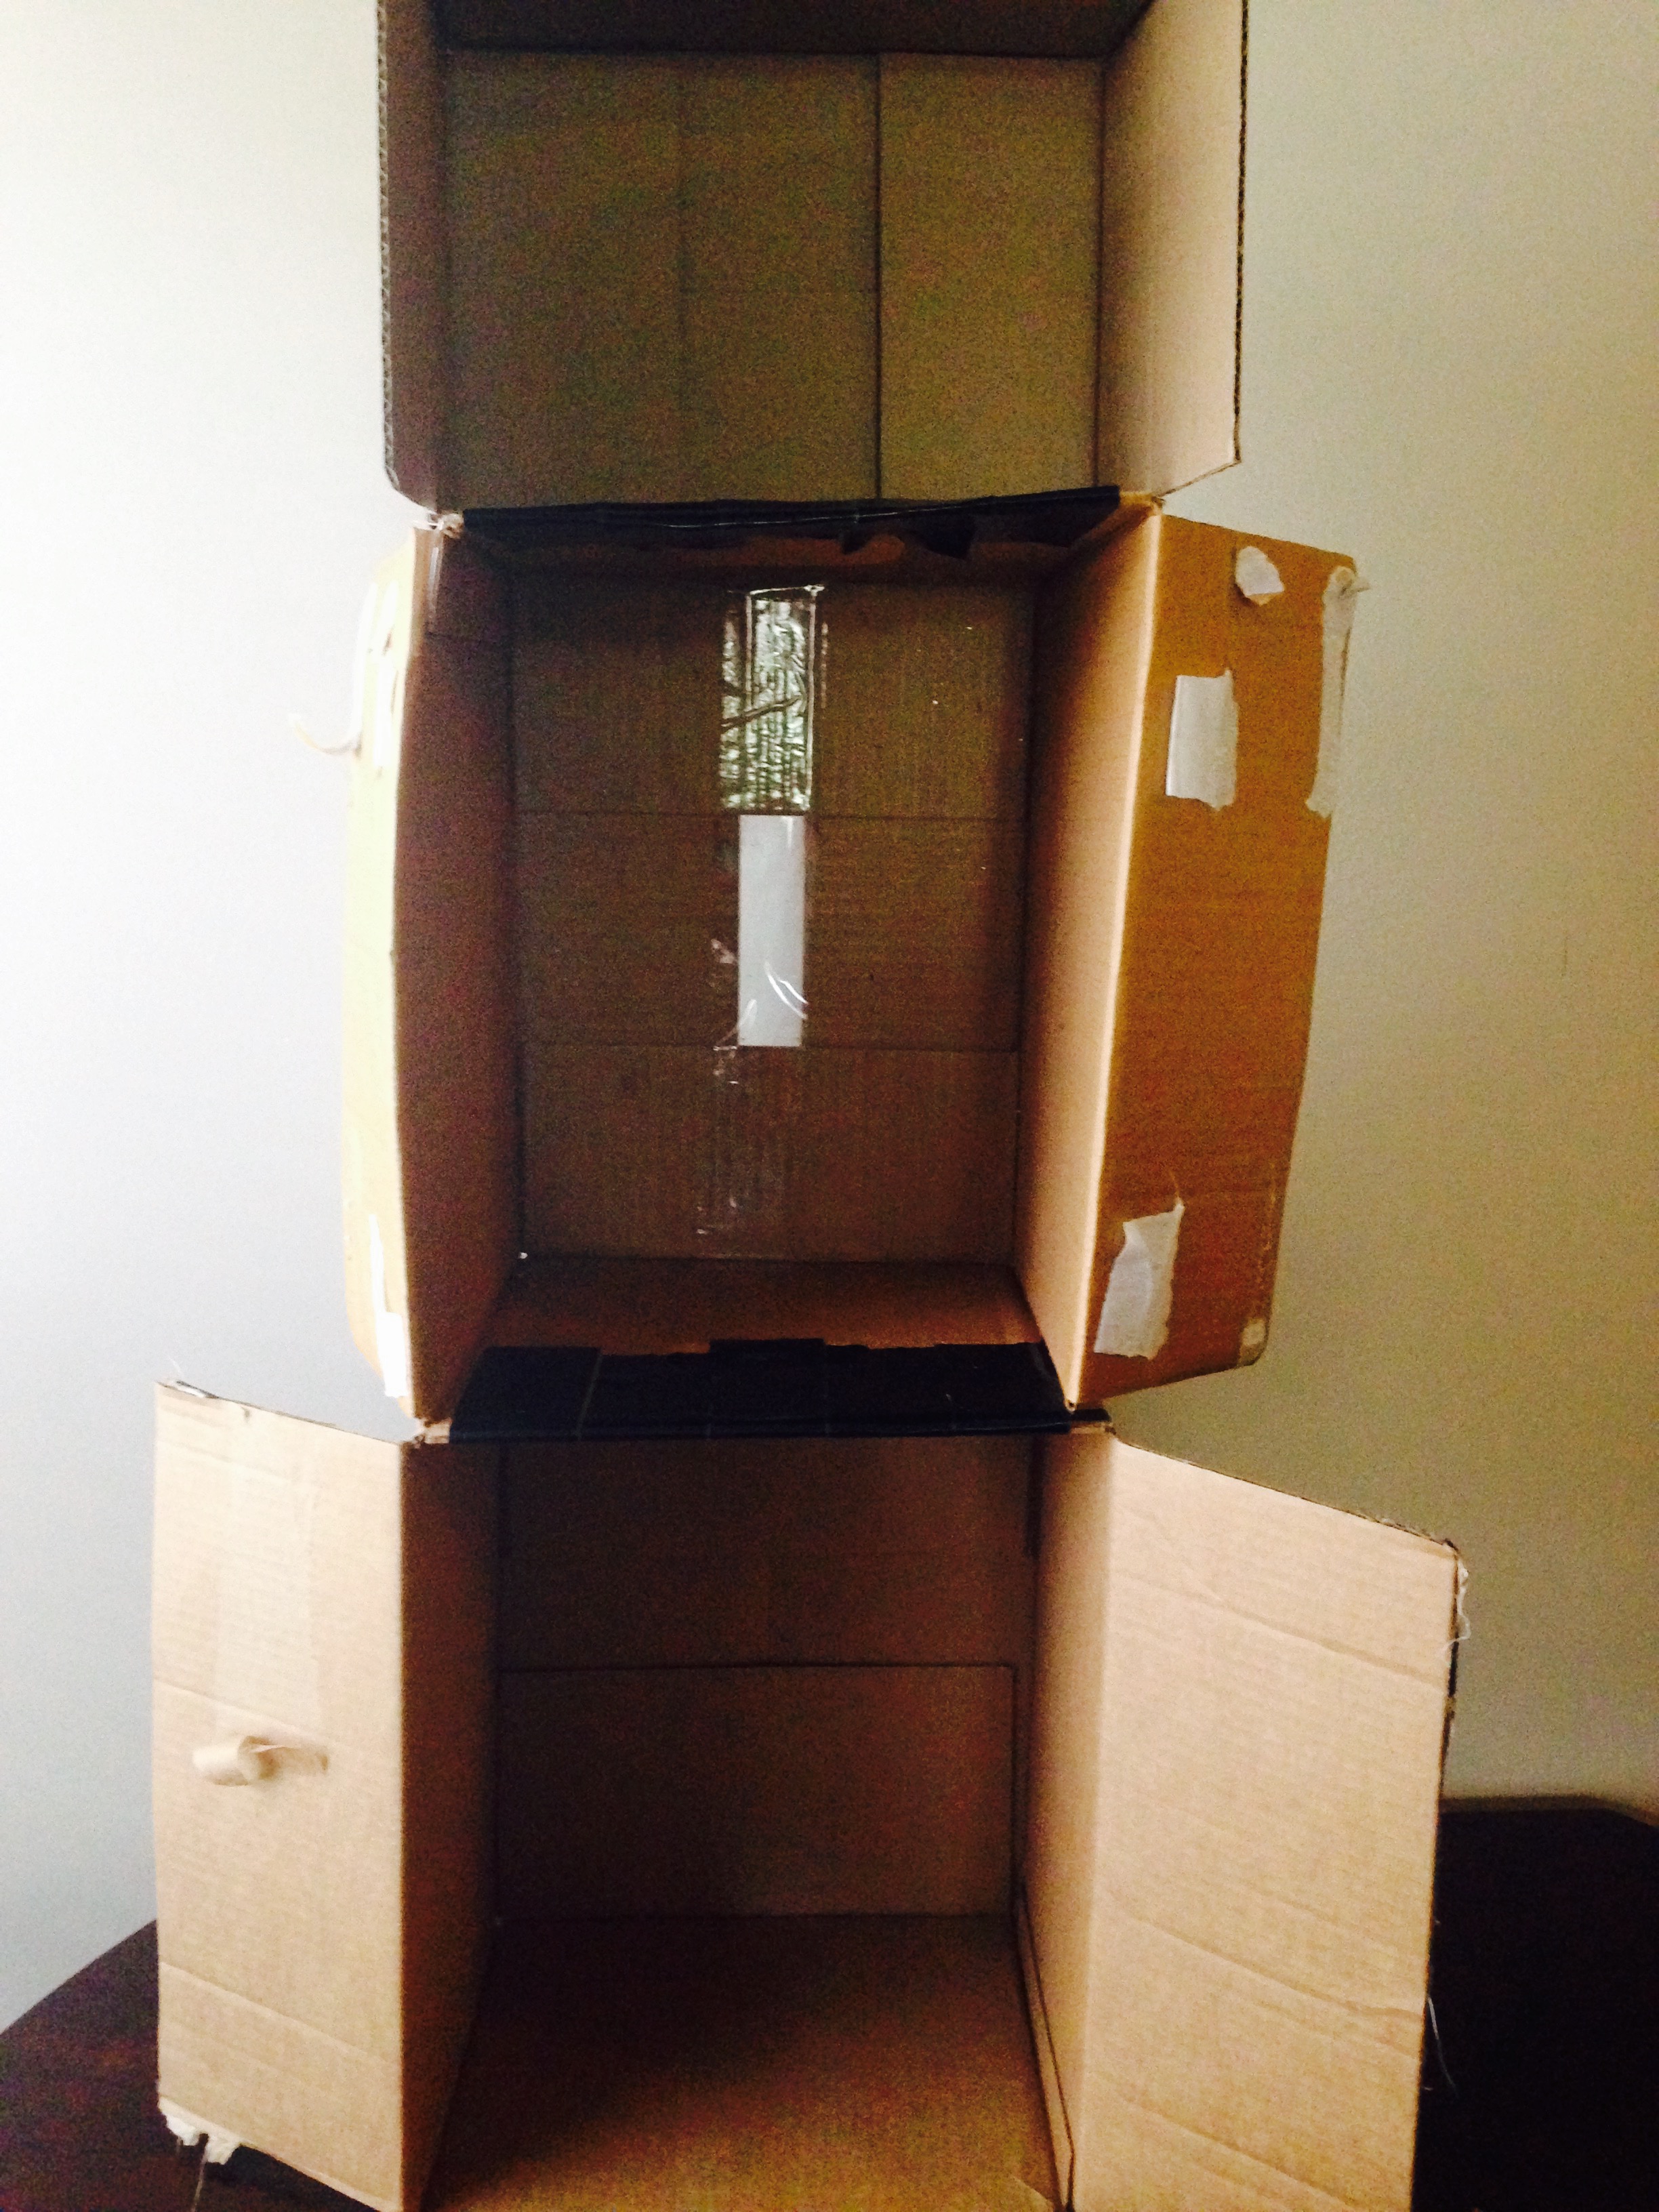
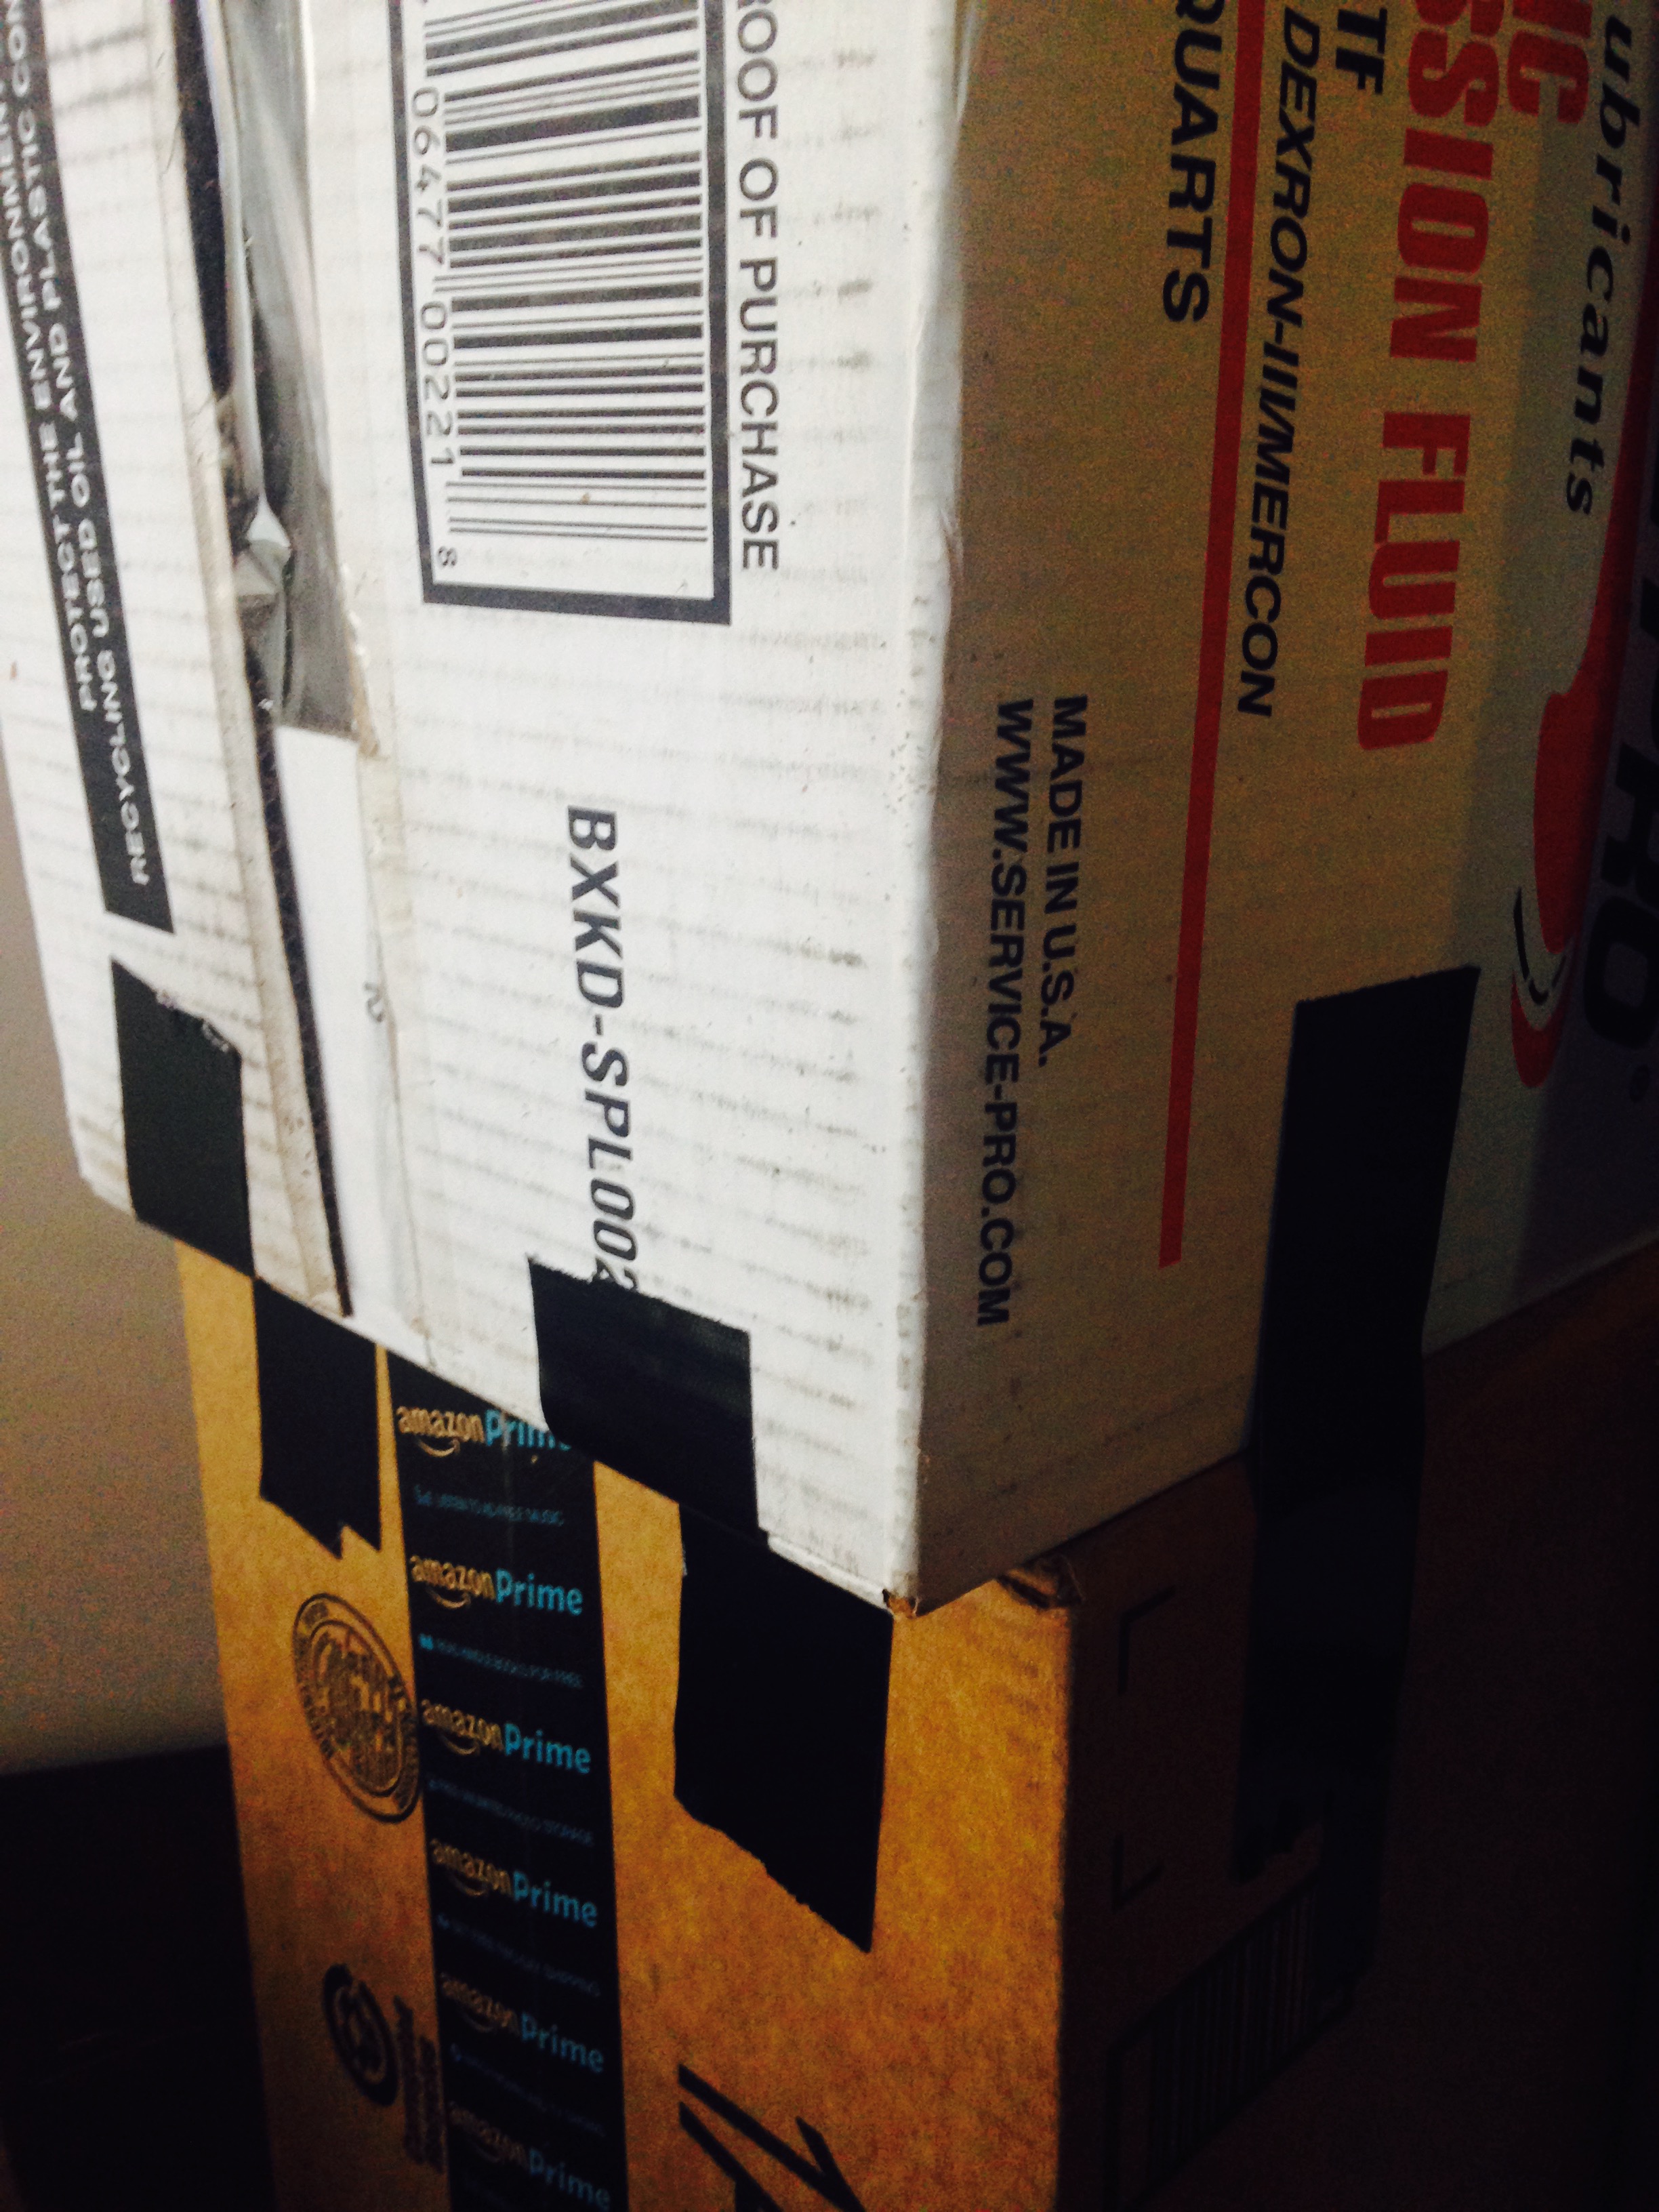
Stack your boxes with the opening of each box facing you. You may decide your boxes are easier to stack if you cut off one the flaps. If you choose to do this, only cut off the flaps adjacent to the neighboring box. Carefully tape your boxes together with your Gorilla Tape. Duct tape will be fine, but Gorilla Tape is much stronger. Make sure you tape the back and sides as well.
You can now paint or color your box to match the décor of your house. It is advisable to put heavier items on the bottom of the shelf and the lighter items on the top of your shelf. Make sure you are extra cautious if you choose to mount your new shelf to the wall; sometimes the cardboard will rip. Use only lightweight items in your shelf if you choose to hang it on the wall. You can even use the side flaps on the boxes as doors.
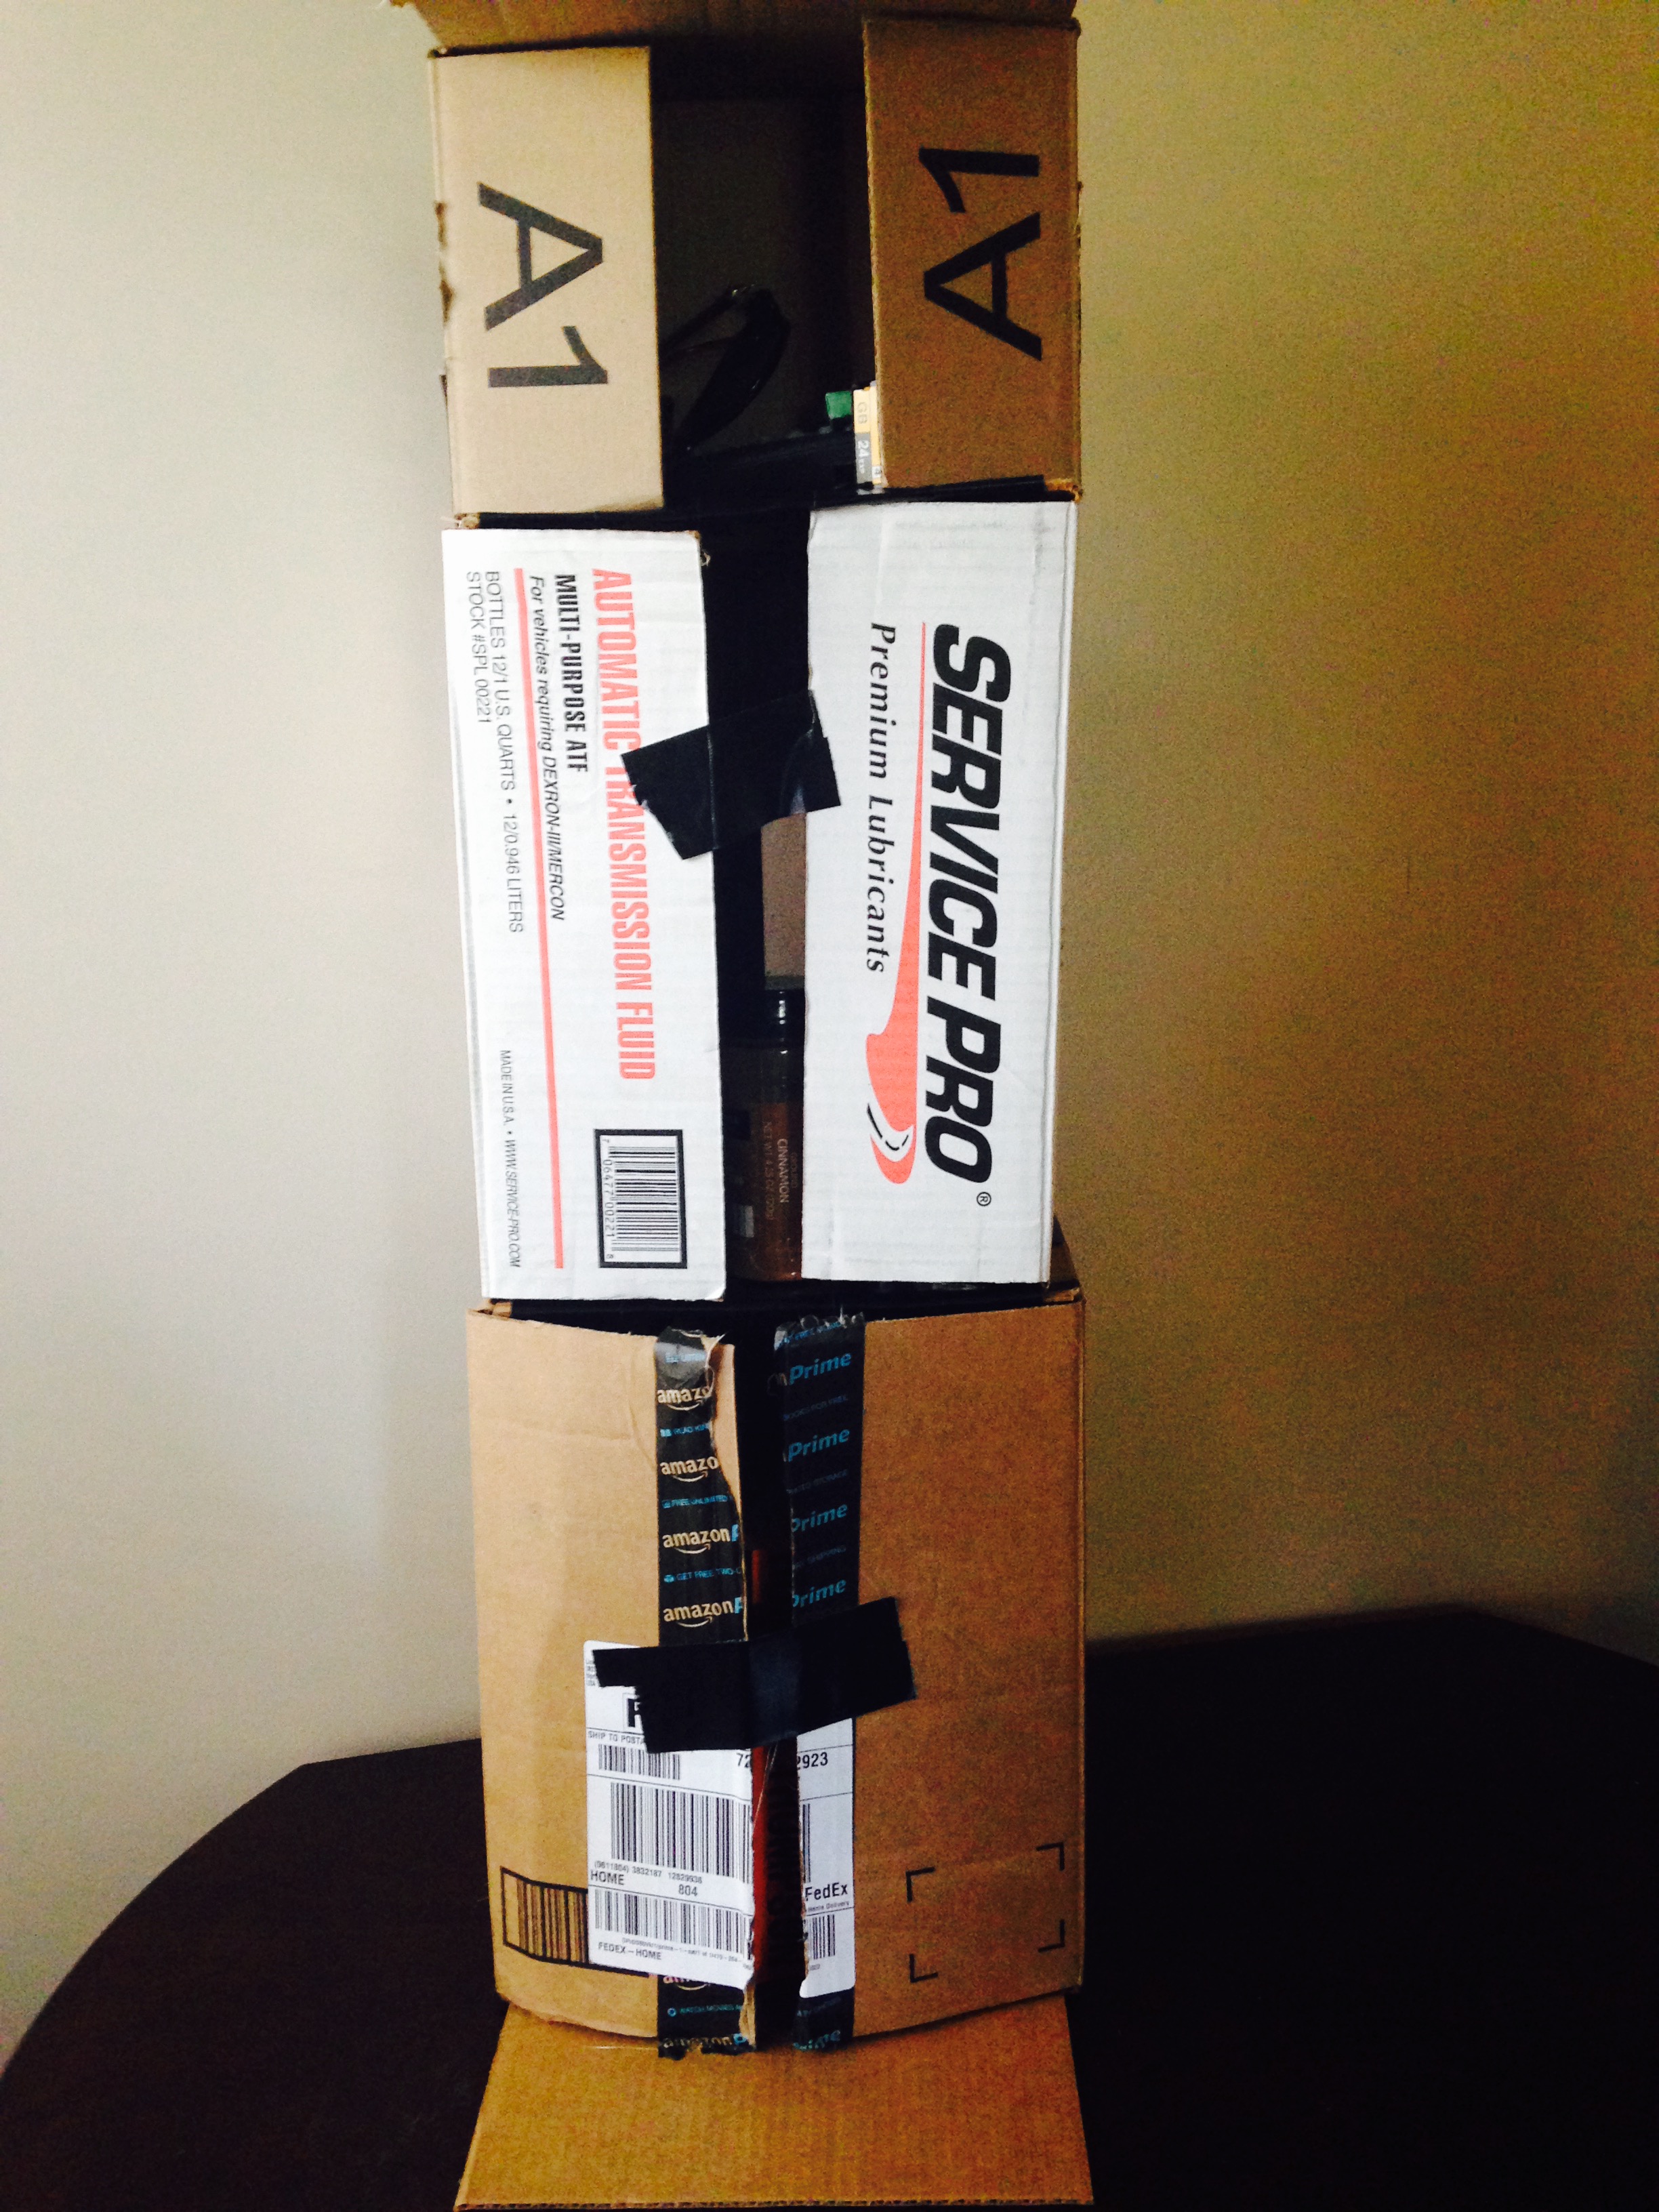

Fill your new shelf and enjoy all your extra space. Feel free to contact The Jejune Bulletin with any comments or questions. Let us know if there’s a DIY solution you’d like us to work out for you.
